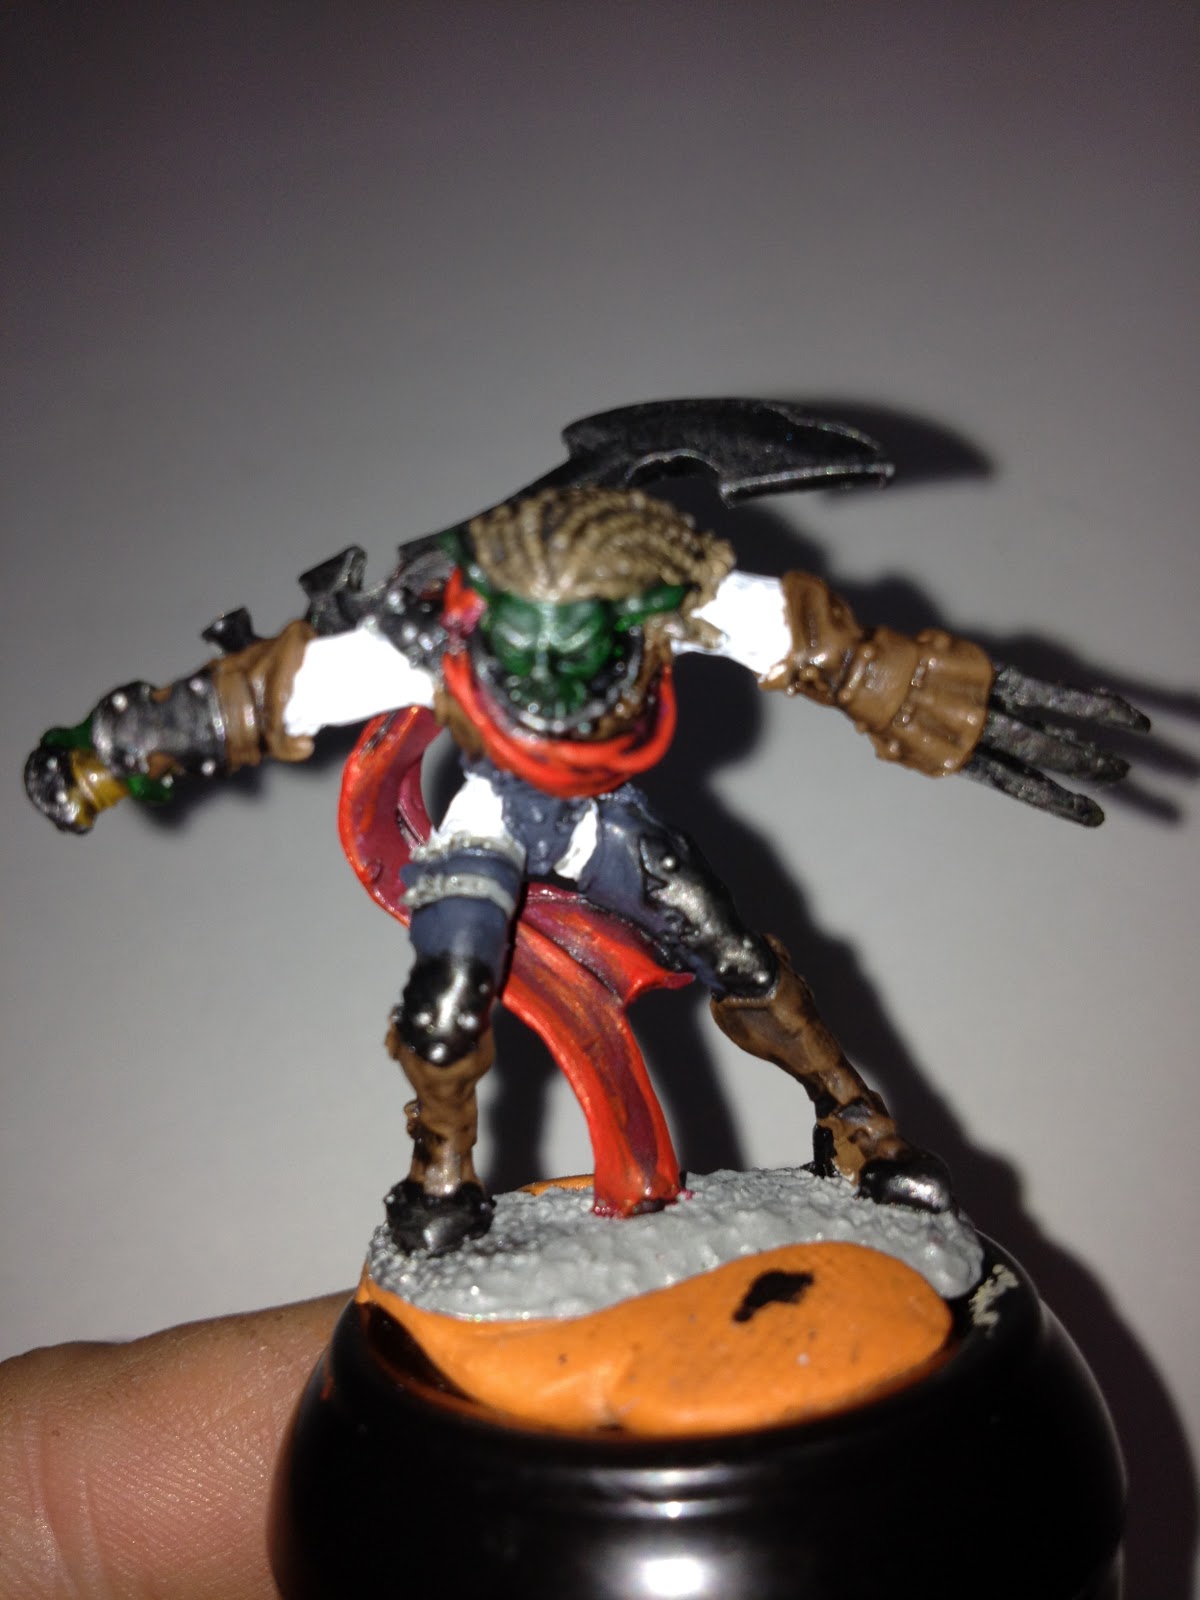
Here's the mini, an Orc assassin. I have free reign on this one to paint it however I see fit.

is a quick soap and rinse of the model and then leave it overnight to air dry. Next I addressed the sword and the claws. Metal is malleable and these things were bent all over the place!

My base coating is not very clean, but since there are several layers on top of this, it doesn't need to be.


I ended up having a really hard time with the claws. I wanted it to have slick, poison coated lick, but the fancier I got with it, the worse it looked. It got so bad I actually had to scrape off the layers of paint and start from scratch. I went simple and was please with the end look. It isn't fancy, but solid.
Here I am starting to get into the details a bit more. I also decided I wanted to the shirt under the armor to pop a bit more, so I added a base coat. This is where having things planned out would have helped a lot. Getting stripes on the white, with everything around it already based and washed was tough so it took longer than I would have like to get through this step. The brown leather and grey leather armor get some highlights as well here.
The metal armor gets a layer of wash (I skipped these pictures and am disappointed that I did since I think the metal armor was the most successful parts of the model.
1. Base Black
2. Layer Boltgun
3. Wash with Black
4. Highlight with Chainmail
5. Wash with brown
6. Wash with Black after brown has completely dried
7. Silver scratches are added all over and on the studs
8. Wash with Black
9. More silver scratches (this gives it more age, new and old damage)

And here are the stripes! More green highlights, I started to add a little yellow to the green at the end.

Next up on the list, Psykers and Warrior Acolytes, tons of them!
That's pretty awesome!
ReplyDeleteAnd very predator!